The Spanish version is the authoritative reference. View in Spanish
Access and Installation
ioFacturo Legacy operates as a gadget within the Gosocket platform. Before issuing vouchers, sign in to Gosocket and install the gadget if you do not already have it available.
Sign in to Gosocket
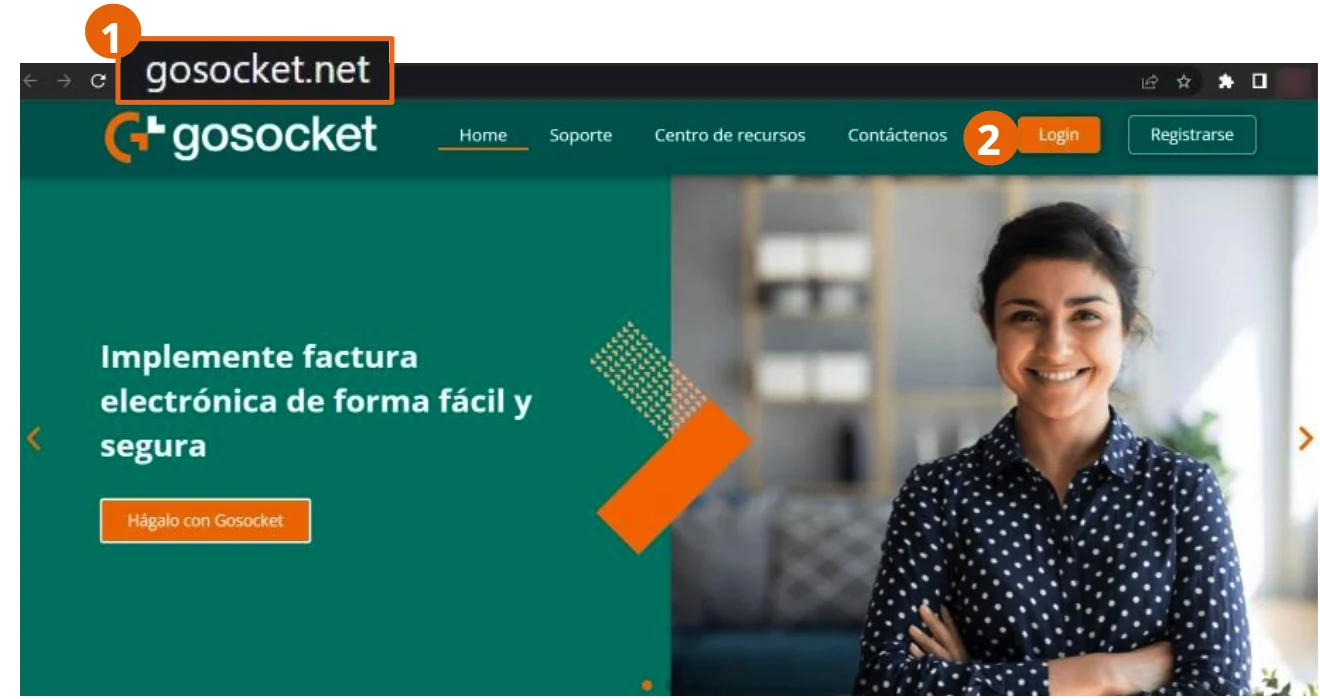
- From your browser, go to https://www.gosocket.net/ and access the sign-in option.
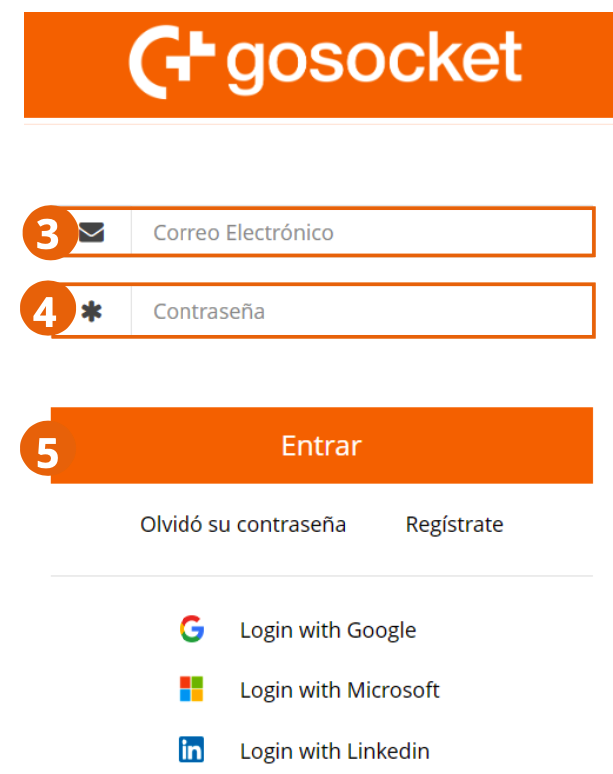
- Enter your username.
- Write your password and click Enter to access the platform.
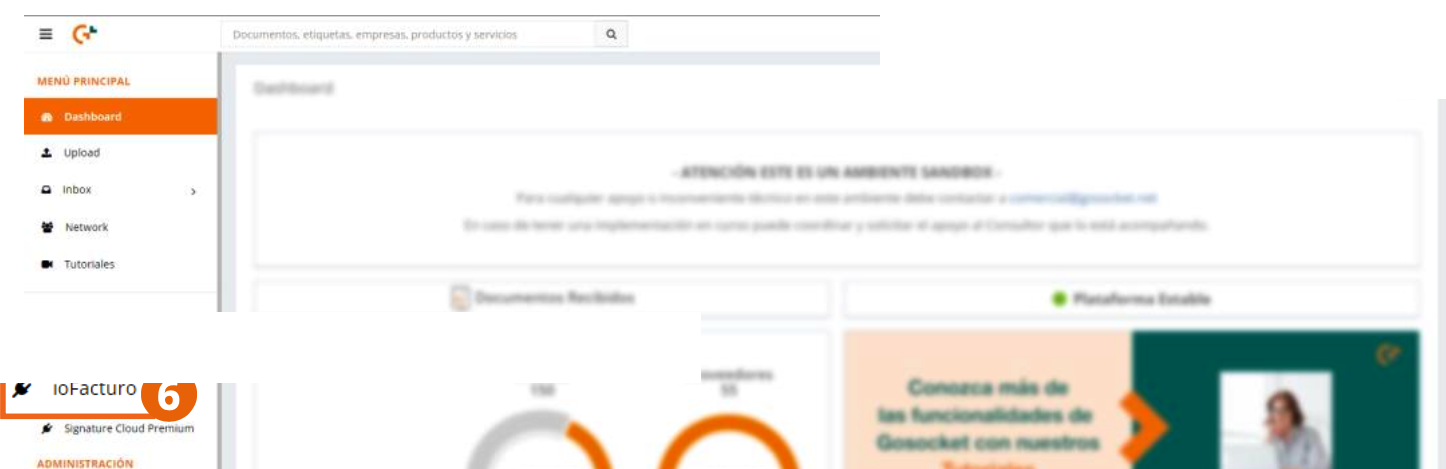
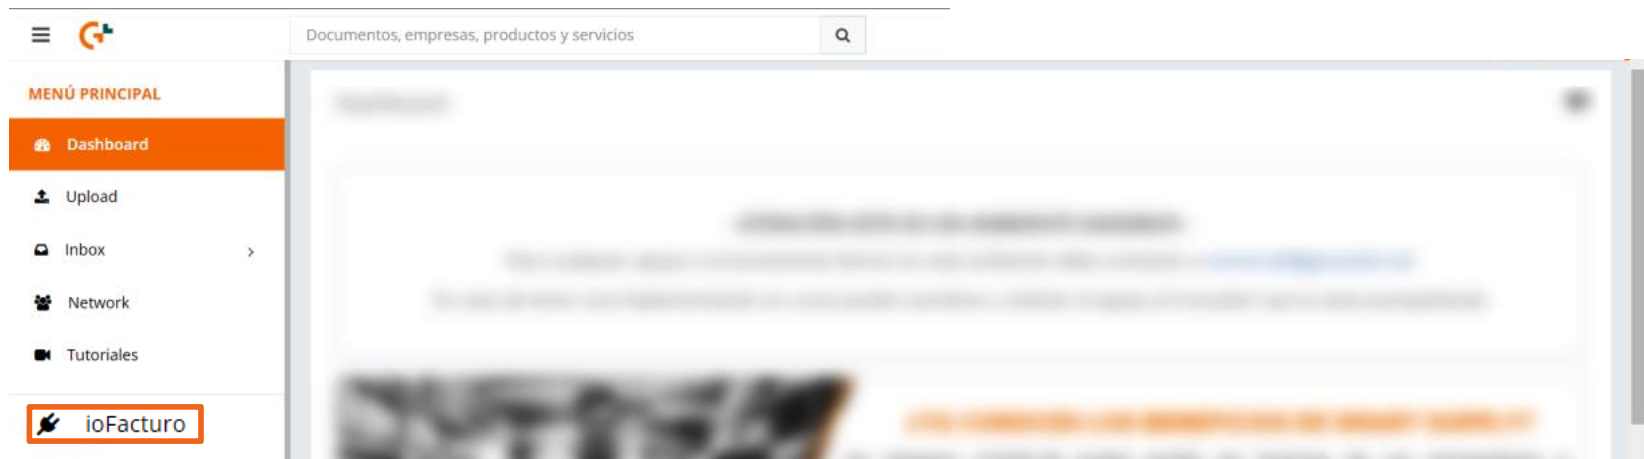
- Once you are in the platform, click ioFacturo within the Gadgets section of the side menu.
ioFacturo Installation
If you do not already have the gadget installed, the first step will be to install it so it appears in the menu of options displayed on the left side of the screen:
- From the side menu, click Gadgets Explorer.
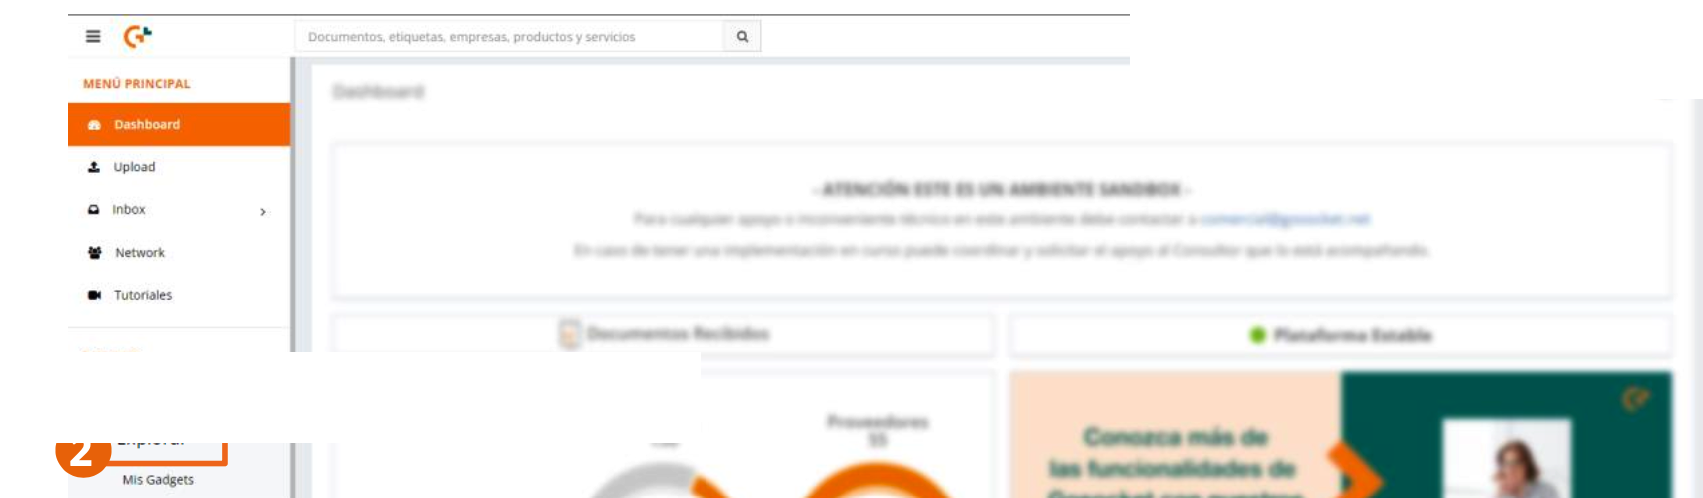
- Locate the ioFacturo gadget and click Install.
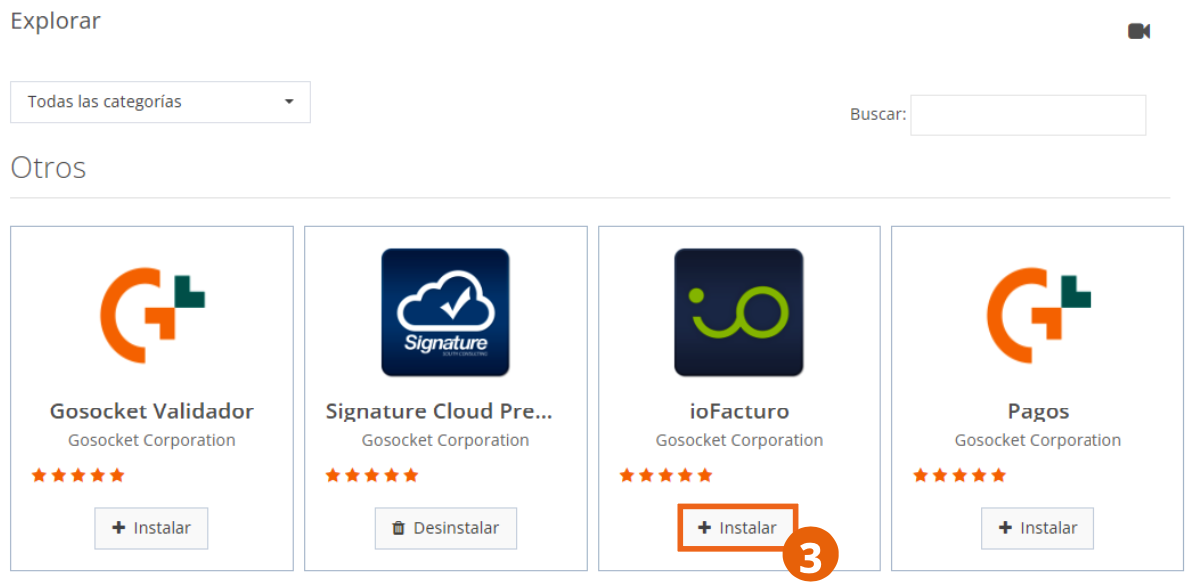
Once the application is installed, you will be able to use it and issue your documents, as well as perform the management tasks they require.
Enter ioFacturo
To start the invoicing process, enter the ioFacturo gadget from the side menu of the Gosocket portal.
Navigation in ioFacturo
When you enter the gadget, the main ioFacturo dashboard appears, which contains:
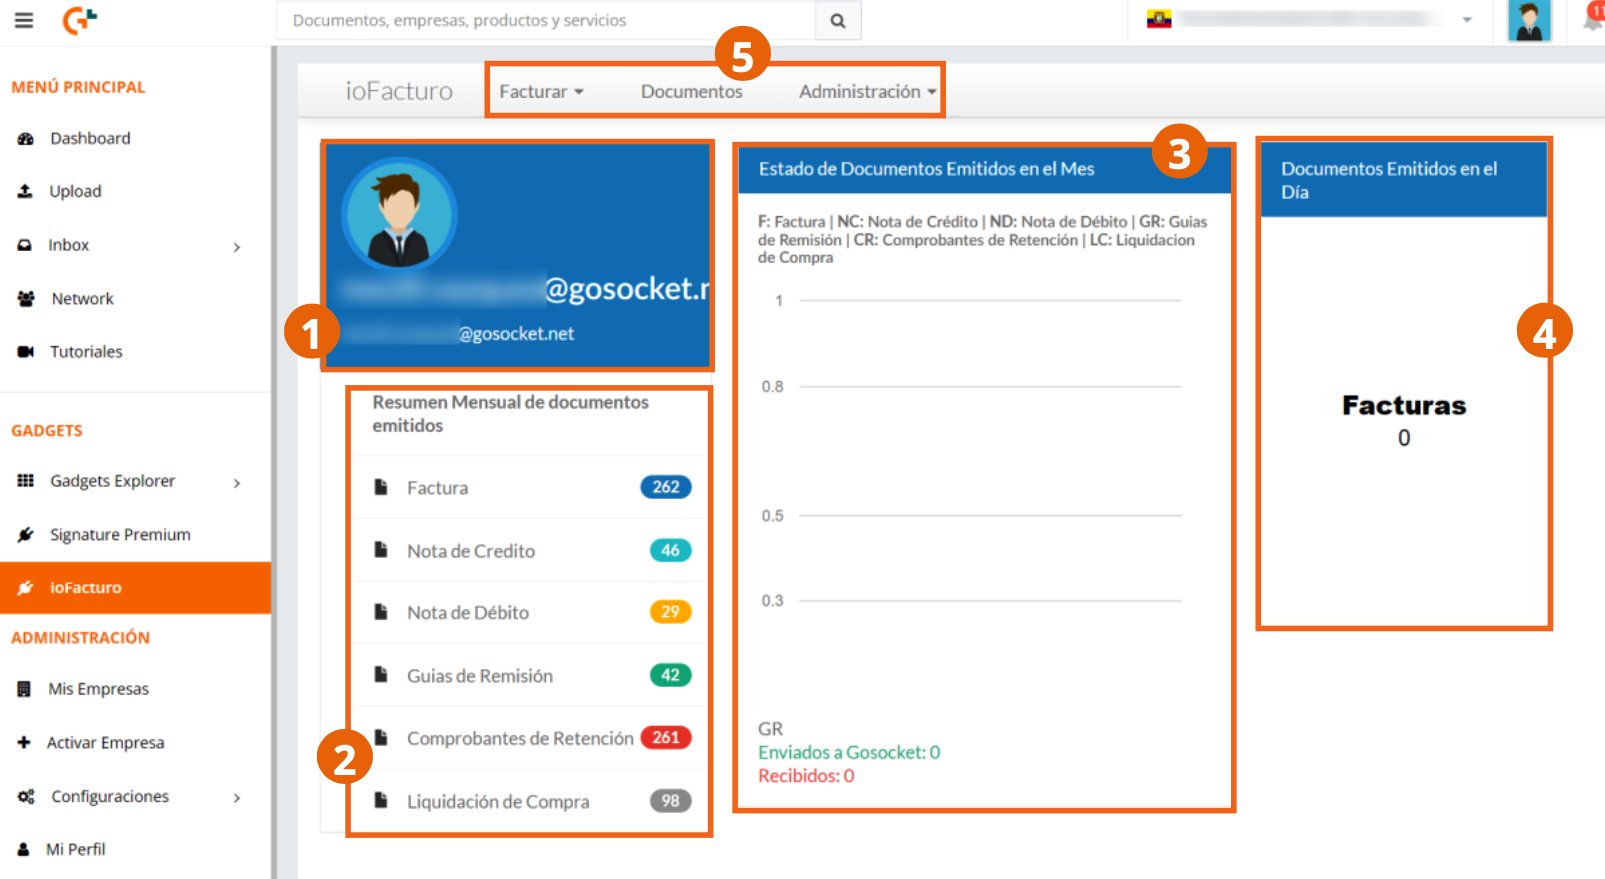
- Statistics of issued documents during the month.
- Summary of statuses of issued documents.
- Number of documents issued during the day.
- Main menu of ioFacturo, with the modules Invoice, Documents, and Administration.
Before issuing your first voucher, prepare the system from the Administration module: start with Configure Issuer.