The Spanish version is the authoritative reference. View in Spanish
Access and Installation
ioFacturo Legacy operates as a gadget within the Gosocket platform. To access the electronic invoicer, you must have a user account for the Gosocket portal, sign in, and install the gadget if you do not already have it available.
Creating New Users
There are two different ways to create new users (authentication mechanisms) on Gosocket:
- Through an account with email and password.
- Through an external authentication mechanism, that is, through accounts previously created on the LinkedIn, Microsoft, or Google platforms.
Register with Email
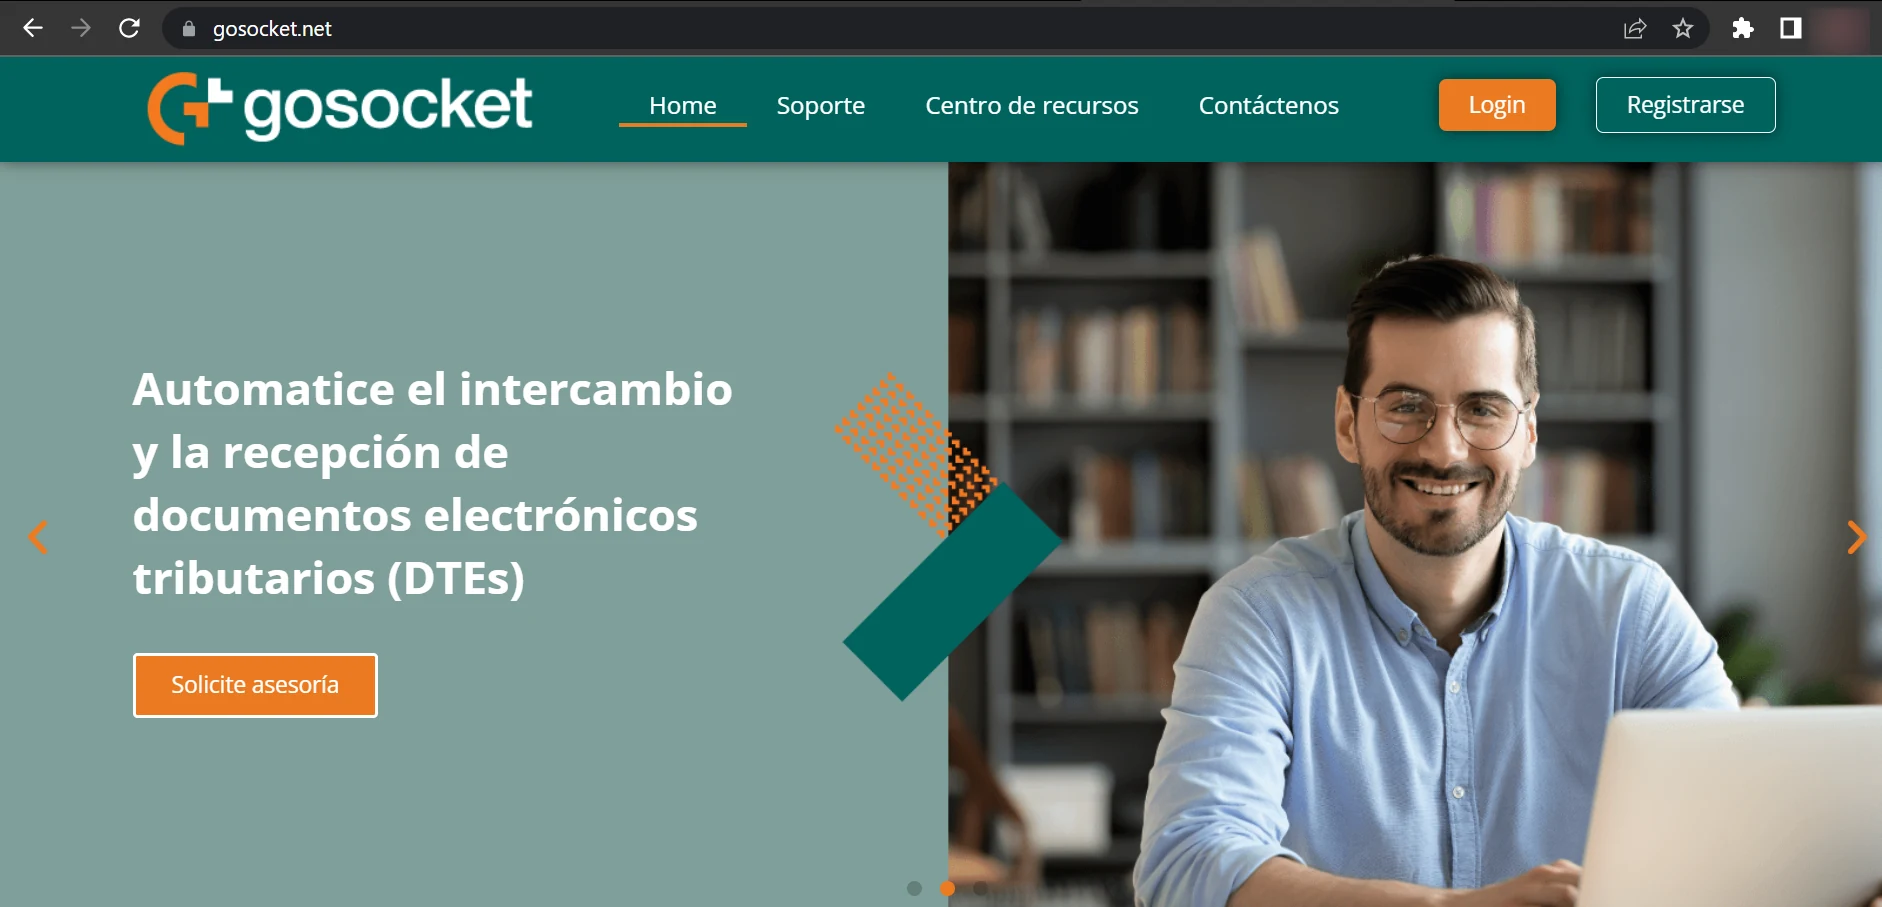
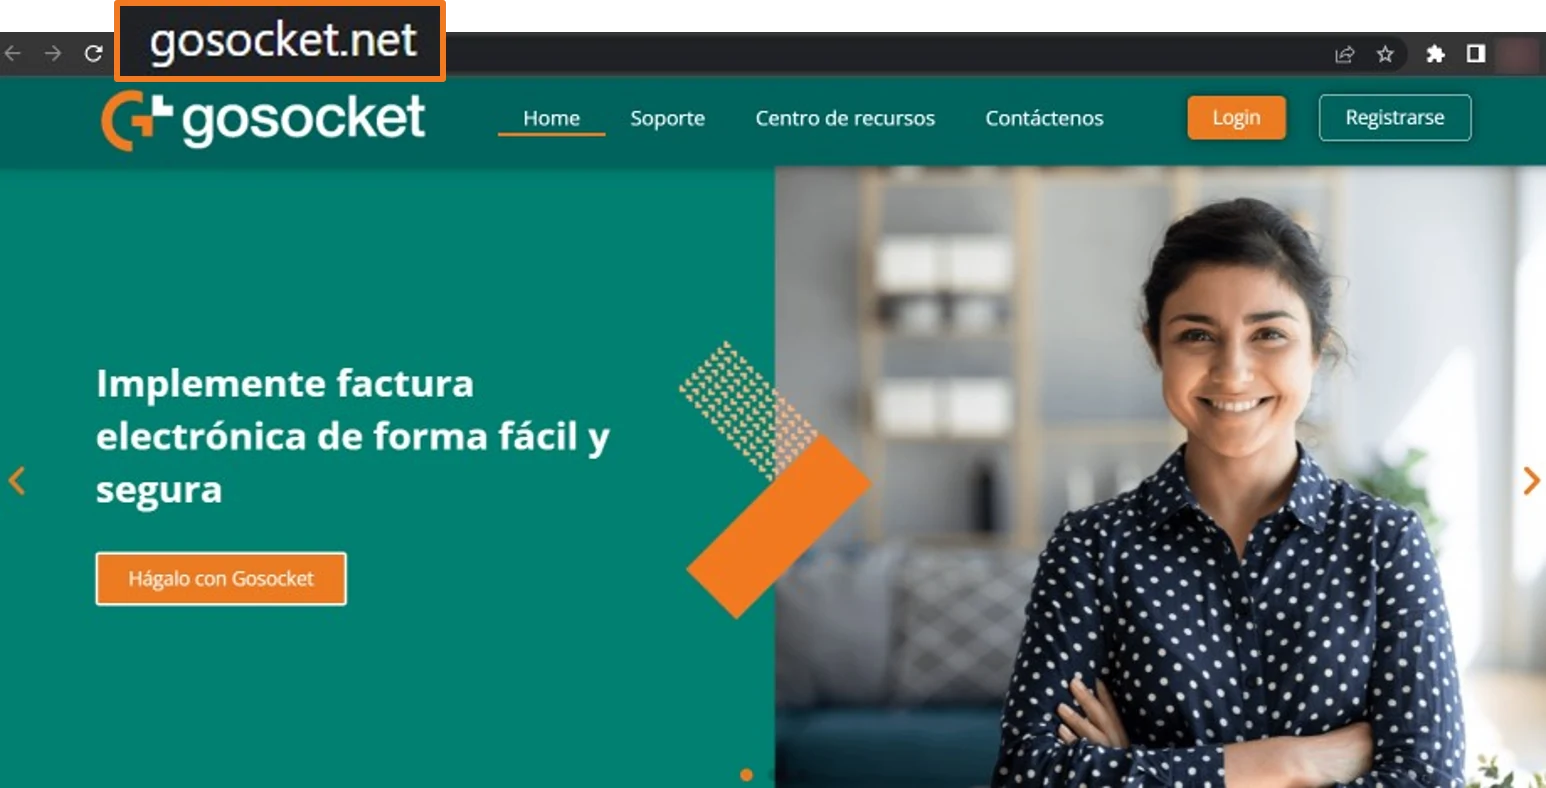
- Go to https://www.gosocket.net/.
- Click Register.
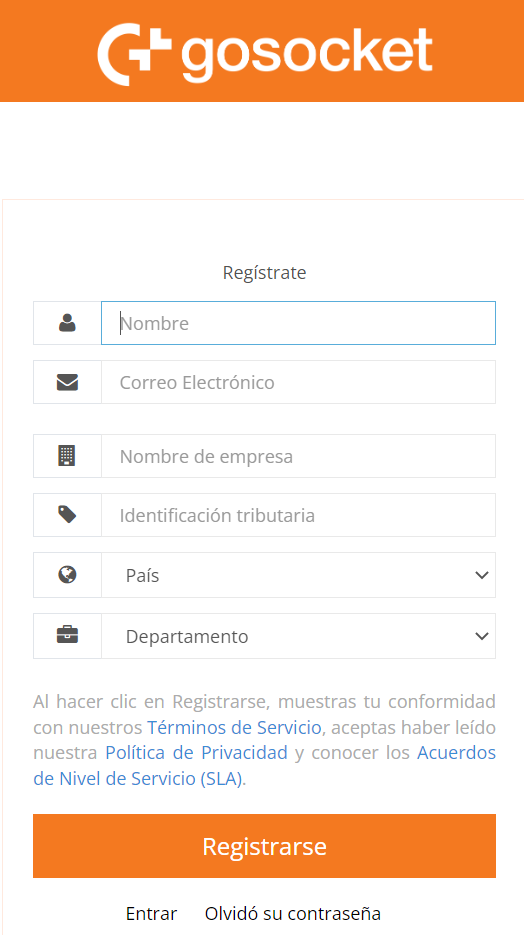
- Enter your name and your work email.
- Enter the company name where you will register.
- Enter the tax ID (RUC) of the company where you will register.
- Select the company's country.
- Choose the department or division where you work.
- Click Register.
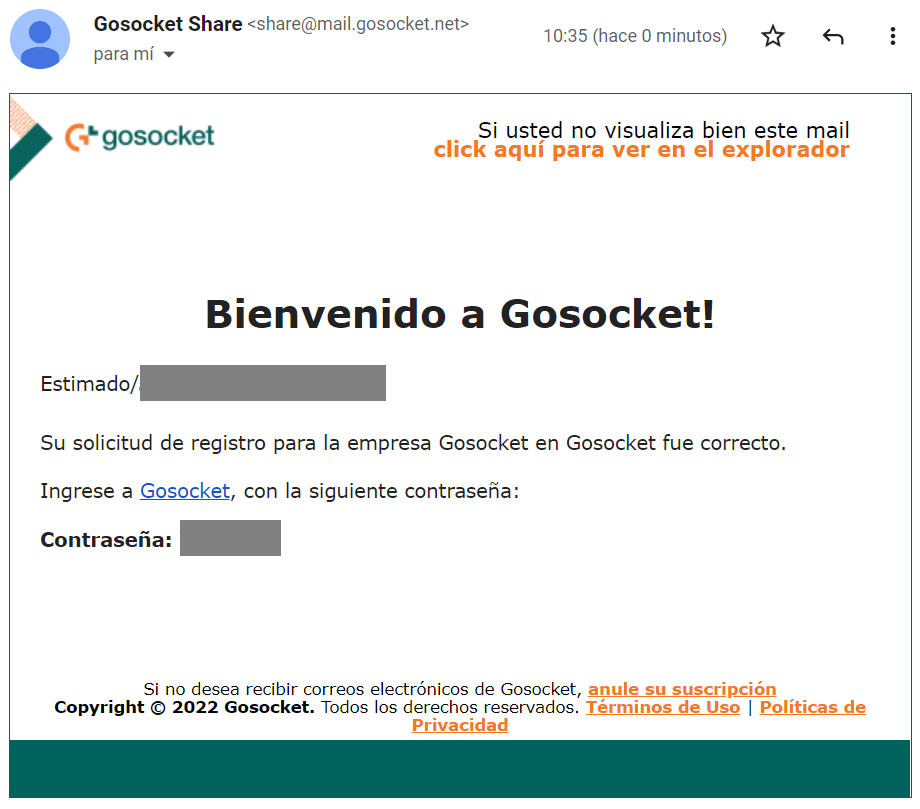
- You will receive a welcome email with the password assigned to your user.
- Sign in to Gosocket with your email and that password.
Register with External Authentication
- Go to https://www.gosocket.net/ and access the sign-in option.

- Choose the platform you wish to authenticate with: Login with Google, Login with Microsoft, or Login with Linkedin.
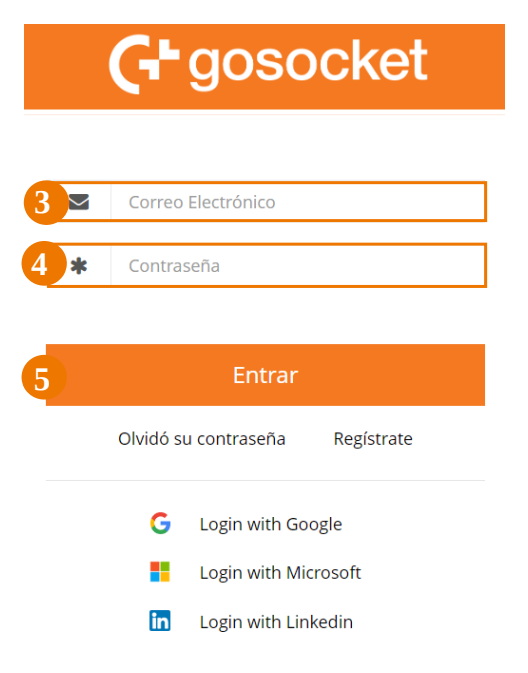
- Follow the instructions displayed by Gosocket according to the platform you chose.
Sign in to Gosocket
- From your browser, go to https://www.gosocket.net/ and access the Login option.
- Enter your username.
- Write your password.
- Click Enter.
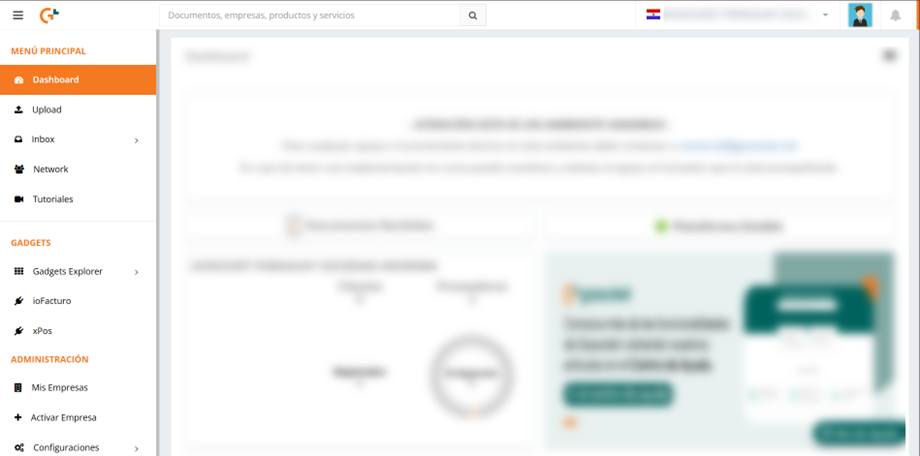
- Once you are in the platform, click ioFacturo within the Gadgets section.
ioFacturo Installation
If you do not already have the gadget installed, the first step will be to install it so it appears in the menu of options displayed on the left side of the screen:
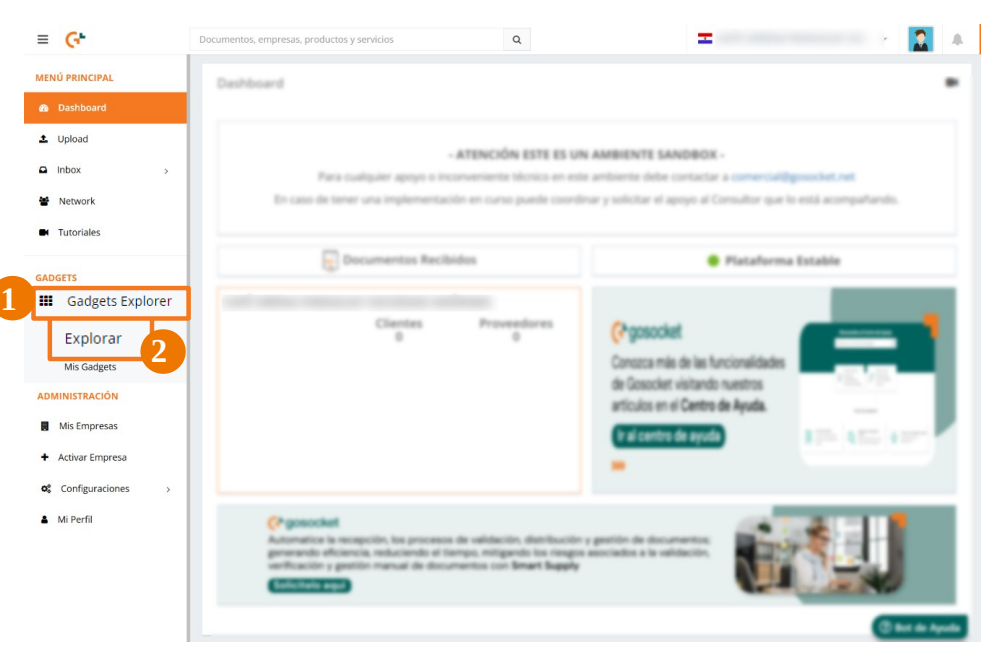
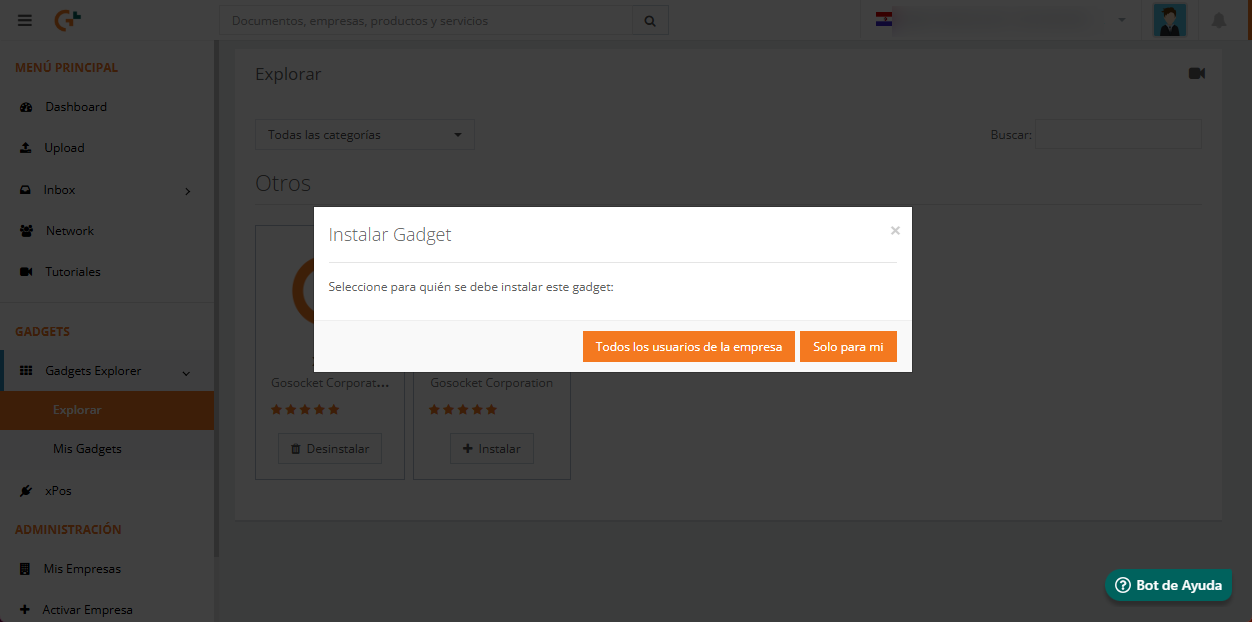
- From the side menu, click Gadgets Explorer and then Explore.
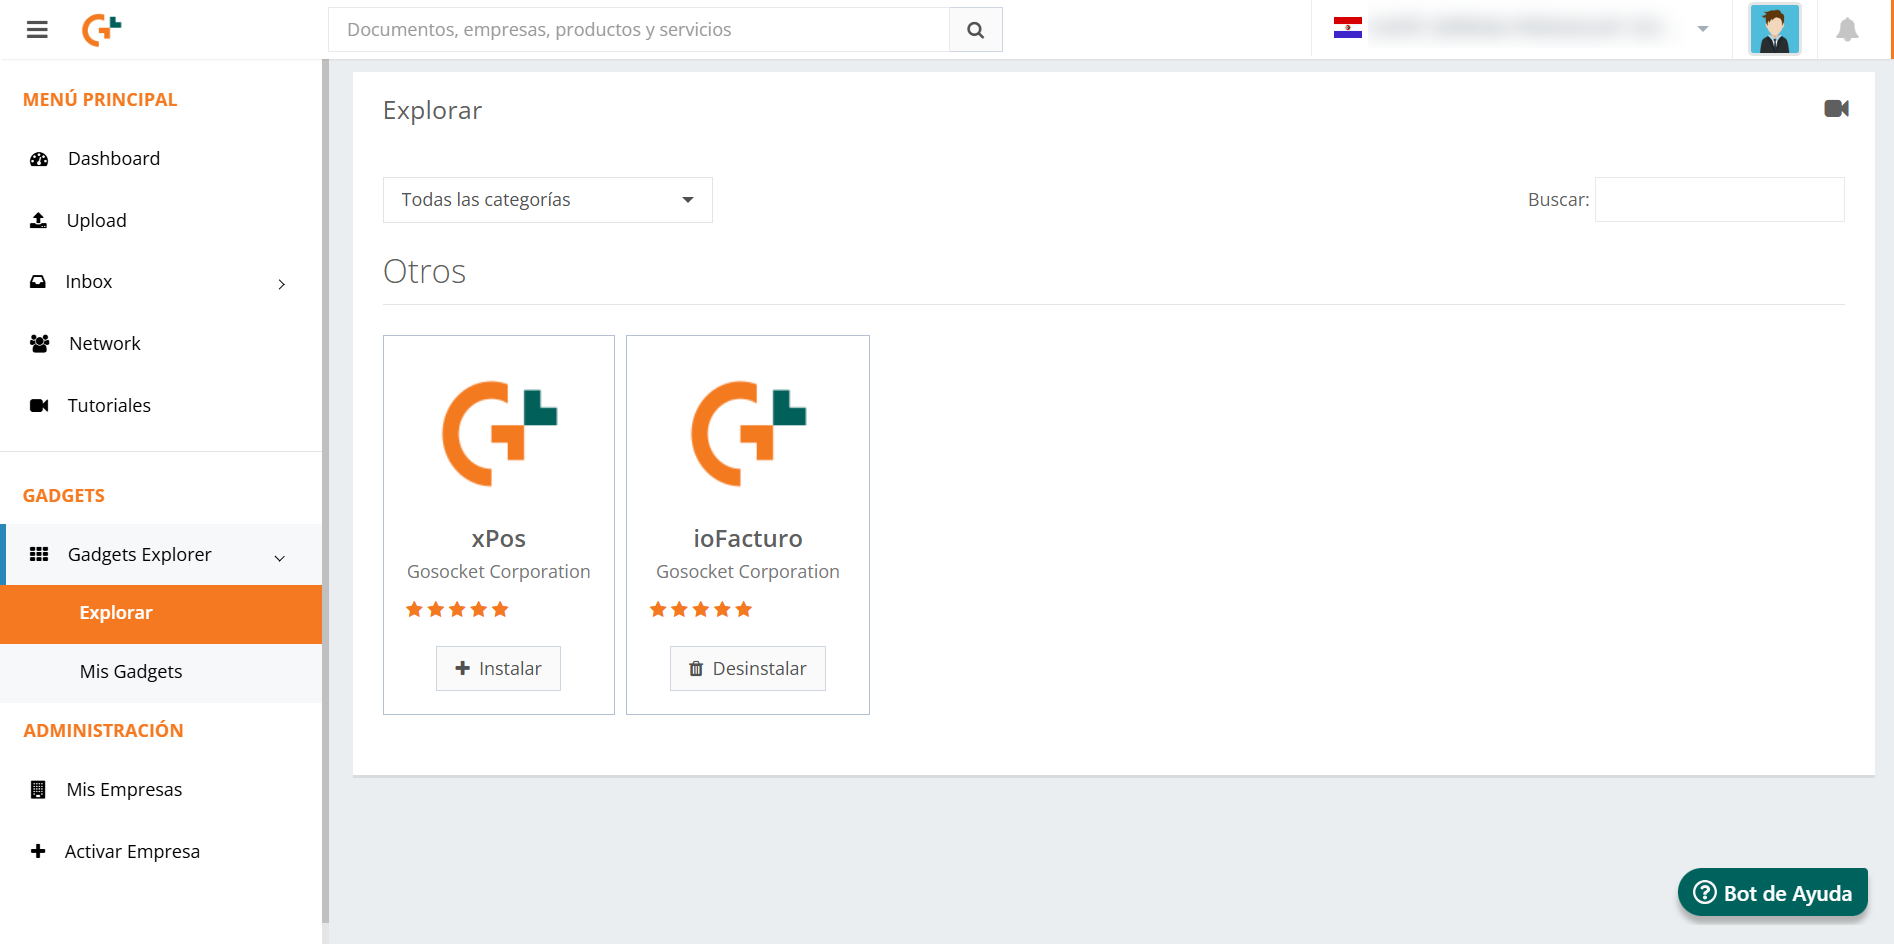
- Locate the ioFacturo gadget and click Install.
- Select for whom the gadget should be installed: All company users or Only for me.
- The system will confirm that the ioFacturo gadget has been installed and will load it for the first time.
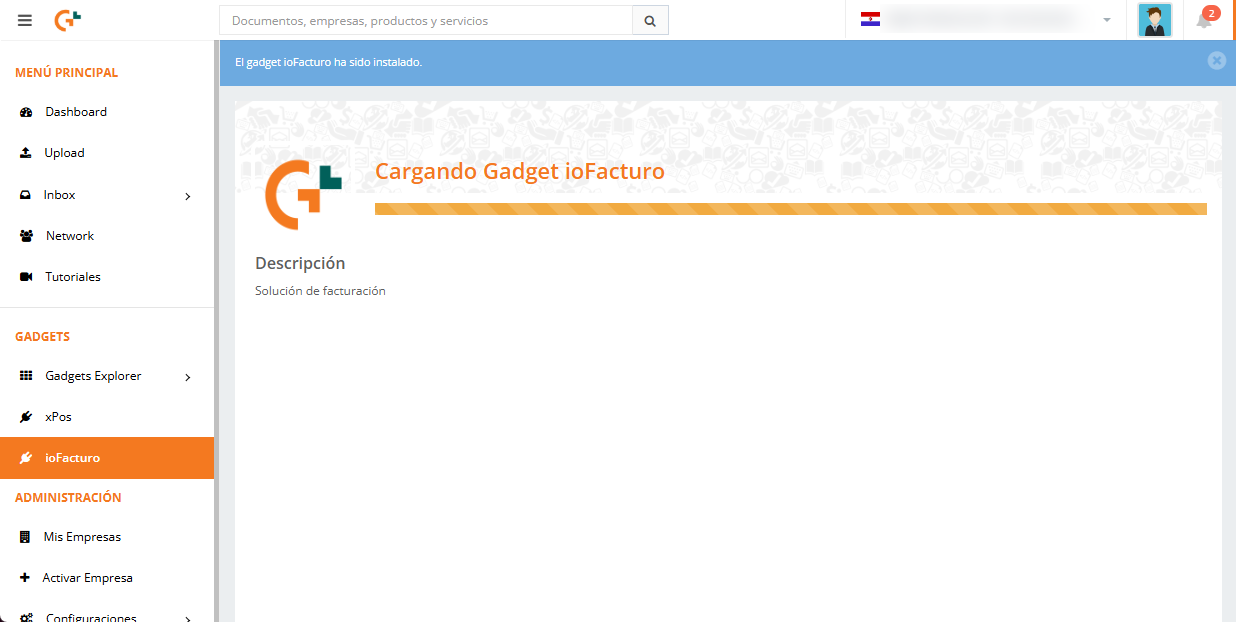
Once the application is installed, you will be able to use it and issue your documents, as well as perform the management tasks they require.
Enter ioFacturo
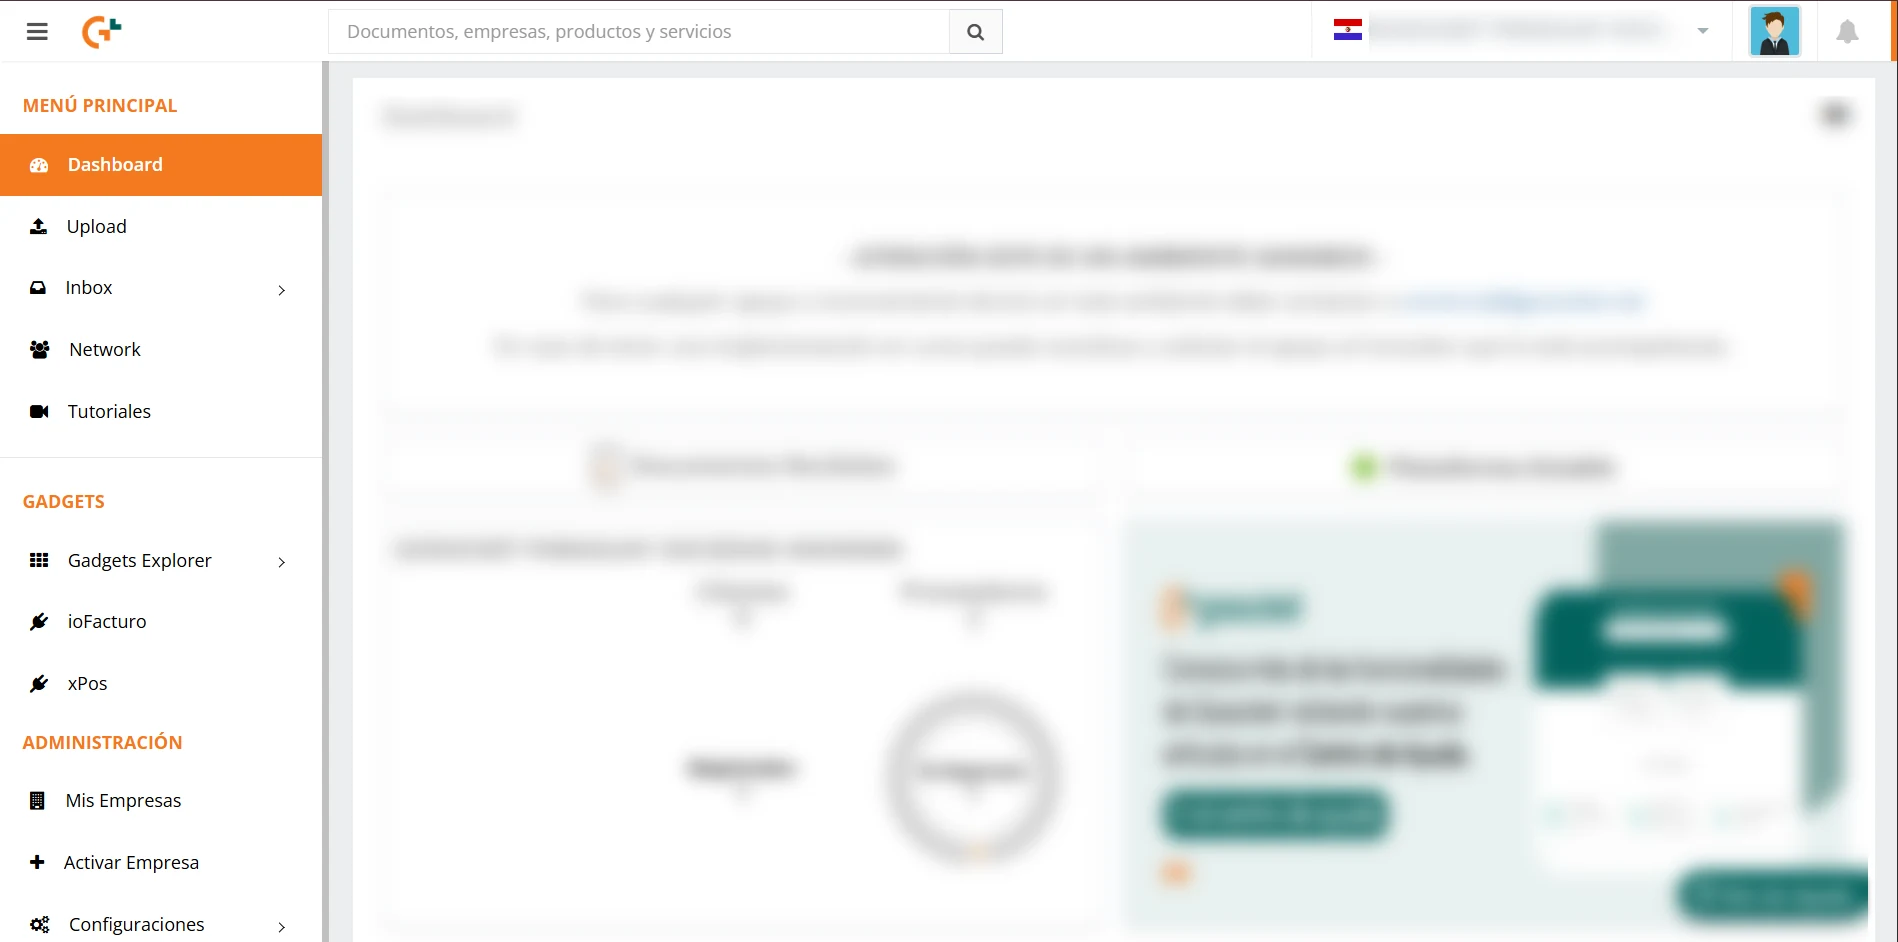
To start the invoicing process, enter the ioFacturo gadget from the side menu.
Company Registration
When you enter ioFacturo, your company's identification, location, and contact data will be displayed, previously configured according to the data Gosocket has: your company's RUC, the name and legal name, the tax address, and the contact data.