The Spanish version is the authoritative reference. View in Spanish
Access and Installation
ioFacturo Legacy operates as a gadget within the Gosocket platform. To access the electronic invoicing tool, you must have a Gosocket portal access user, sign in, and install the gadget if you do not already have it available.
Creating New Users
There are two different ways to create new users (authentication mechanisms) in Gosocket:
- Through an email and password account.
- Through an external authentication mechanism, that is, using accounts previously created on the LinkedIn, Microsoft, or Google platforms.
Registration with Email
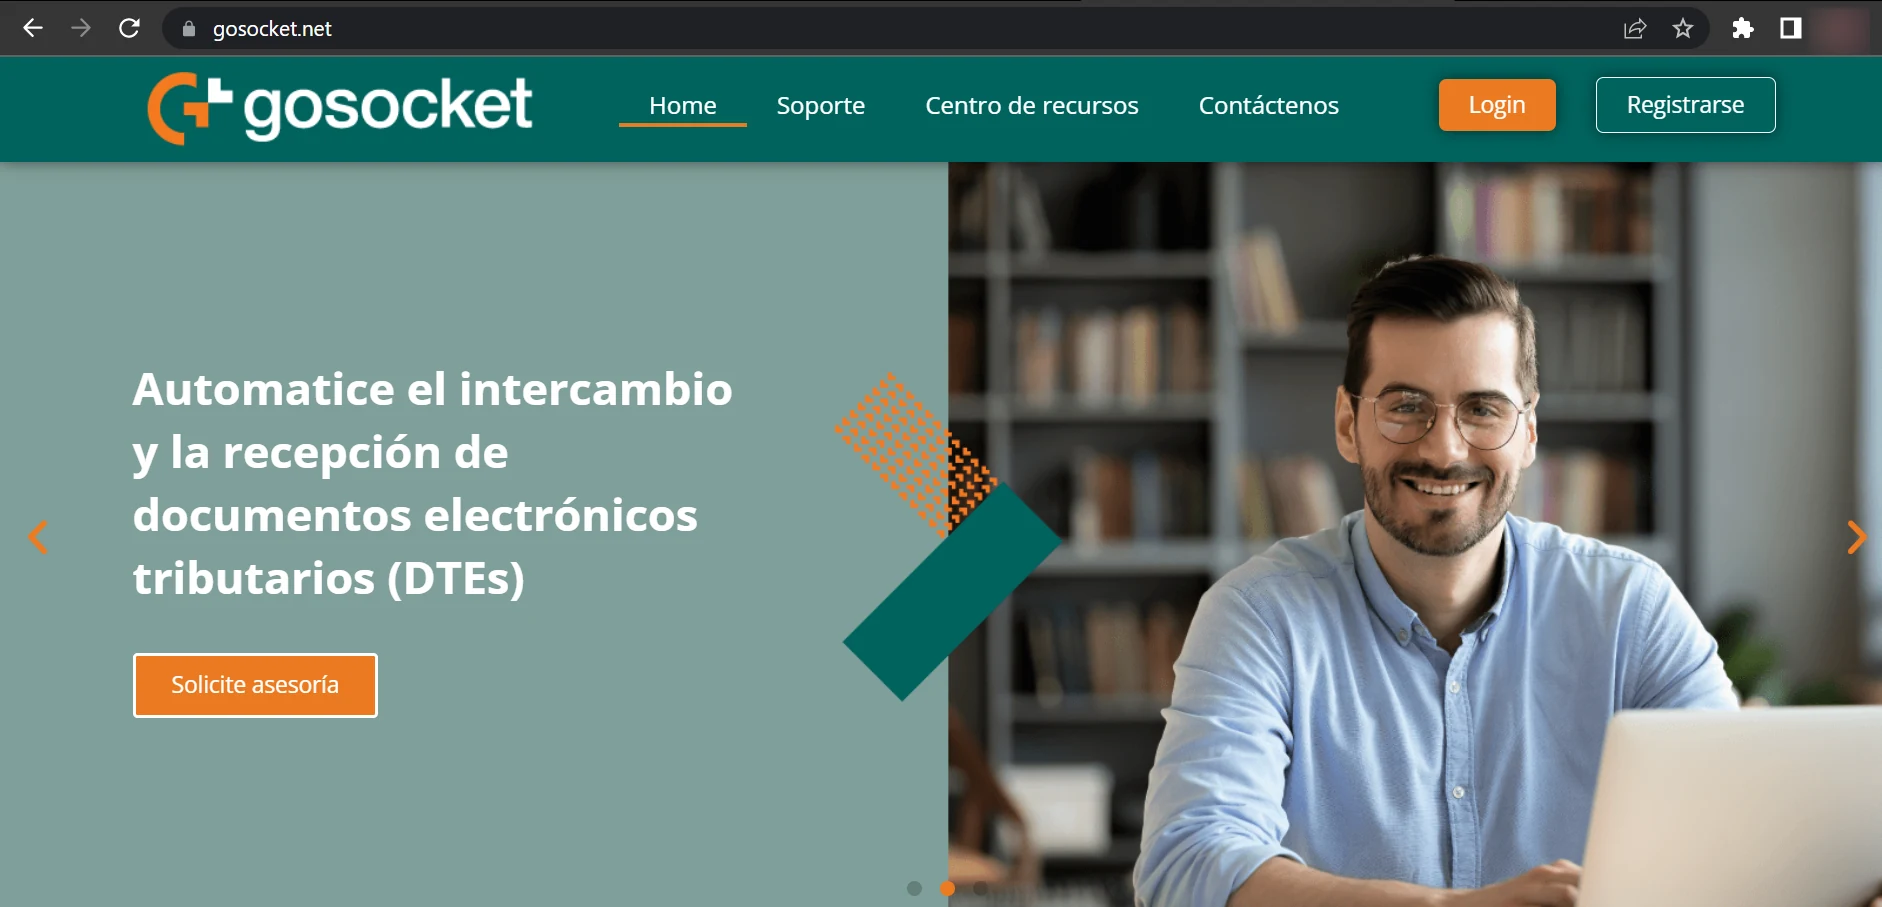
- Go to https://www.gosocket.net/.
- Select Sign Up.
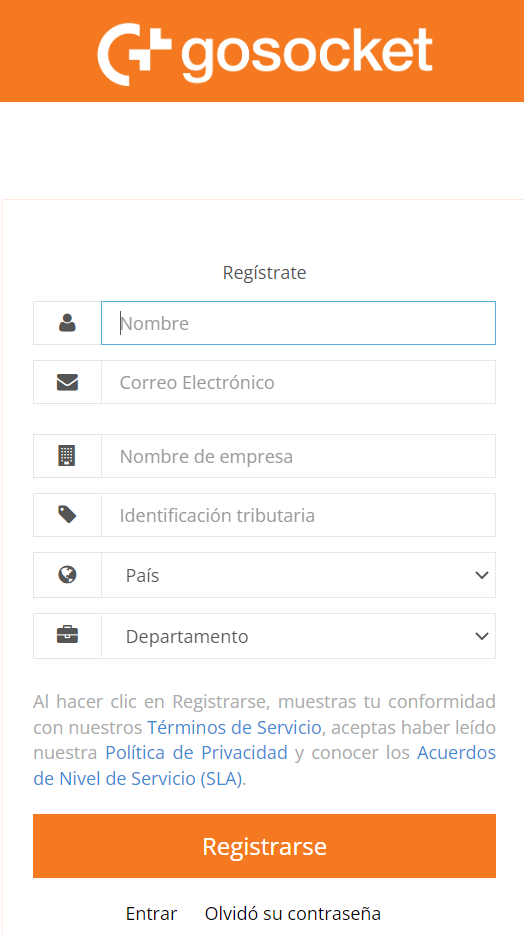
- Enter your full name and your work email address.
- Enter the name of the company you will register under.
- Enter the tax ID (RUC) of the company you will register under.
- Select the company's country.
- Choose the department or division you work in.
- Click Sign Up.
- The portal will send a notification to the registered email with the data to enter, along with the link indicated. If you cannot find it, check your spam or junk folder.
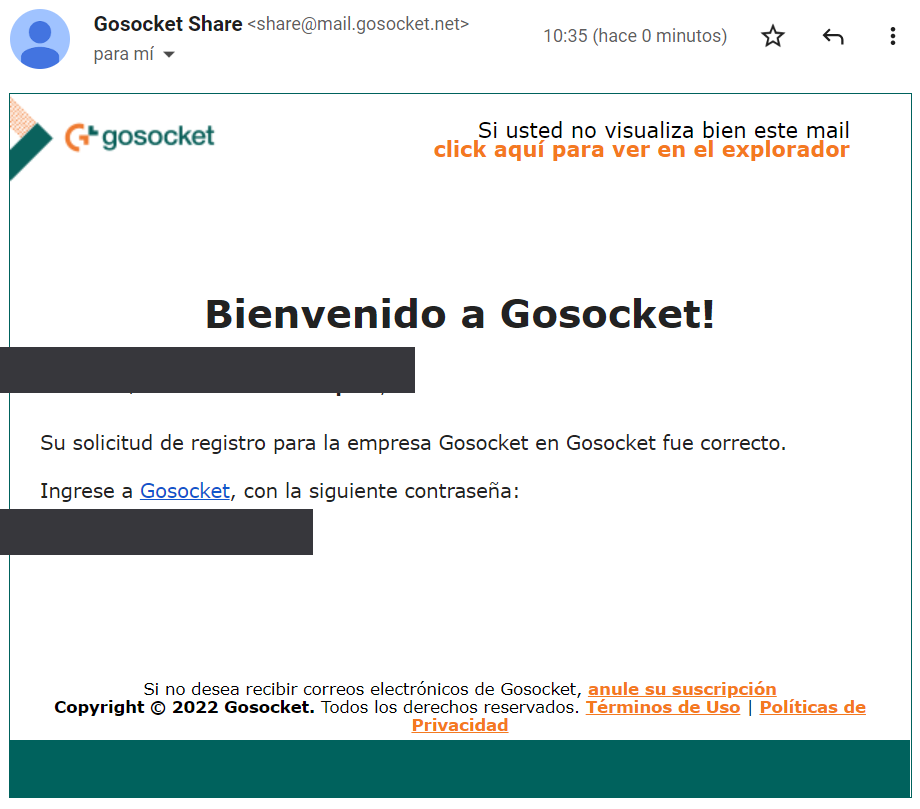
The screenshot above corresponds to a test environment; the recipient's name and the password that in the original email identified a real account were covered before publishing this manual.
- The link in the notification will redirect you to the Gosocket portal, where you must select the Login button to sign in with the previously registered data and the assigned password.
Registration with External Authentication
- Go to https://www.gosocket.net/ and access the sign-in option.
- Choose the platform you want to authenticate with: Login with Google, Login with Microsoft, or Login with LinkedIn.
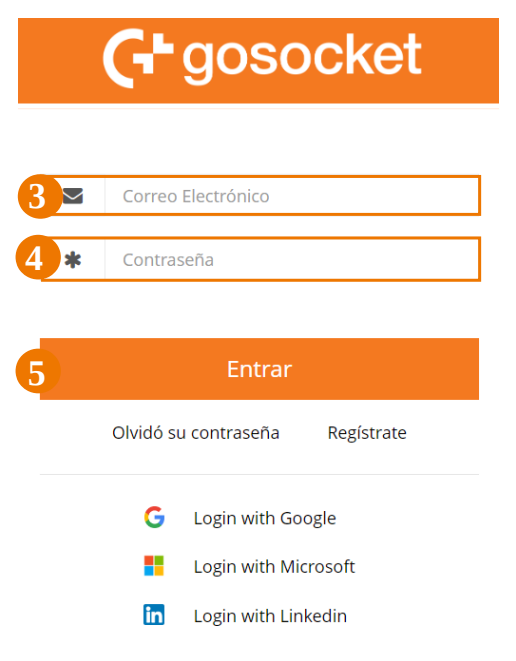
- Follow the instructions Gosocket displays according to the platform you chose.
Sign In to Gosocket
Let's see how to access Gosocket once you already have your user created:
- From your browser, go to https://www.gosocket.net/ and click Login.
- Enter your username.
- Enter your password and click Enter.
- Once you are in the platform, click ioFacturo within the Gadgets section of the side menu.
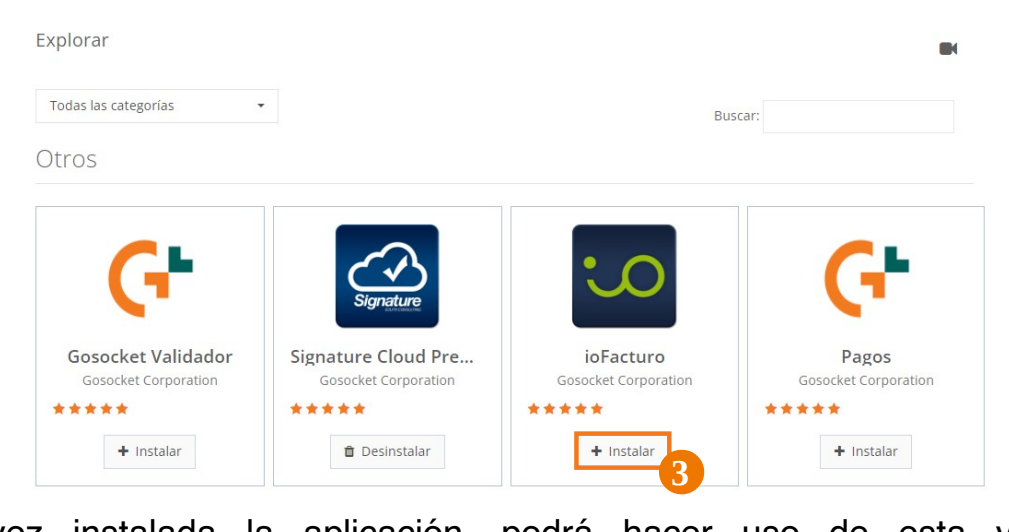
This screenshot and the following ones come from a Gosocket test environment ("sandbox environment"). The legal name, RUC, and contact email that in the original screenshot corresponded to a real company and a real person were covered before publishing this manual — they are not sample product data.
ioFacturo Installation
If you do not already have the gadget previously installed, the first step will be to install it so that it appears in the options menu displayed on the left side of the screen:
- From the side menu, click Gadgets Explorer and then Explore.
- Locate the ioFacturo gadget and click Install.
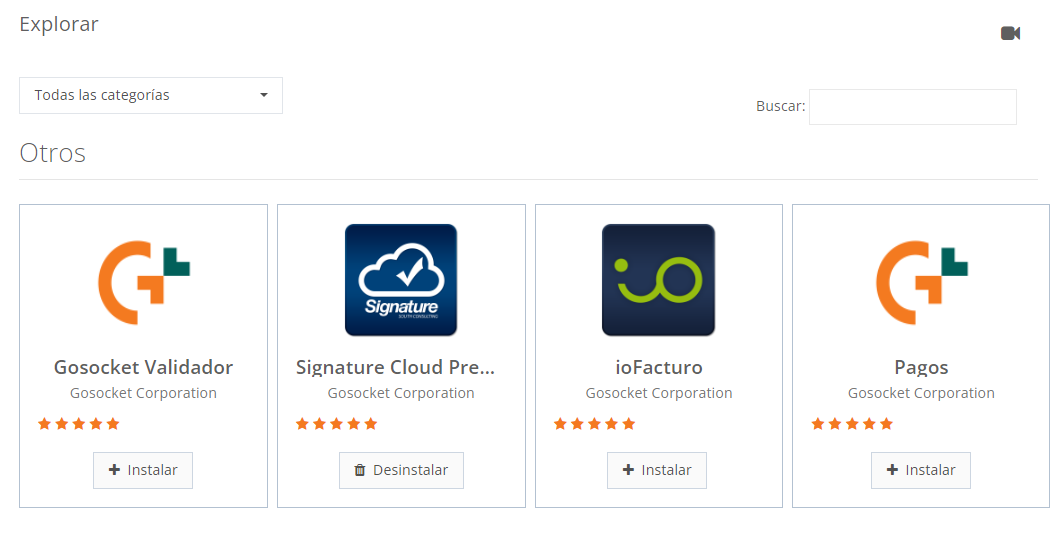
Once the application is installed, you will be able to use it and issue your documents, as well as perform the management tasks they require.
Enter ioFacturo
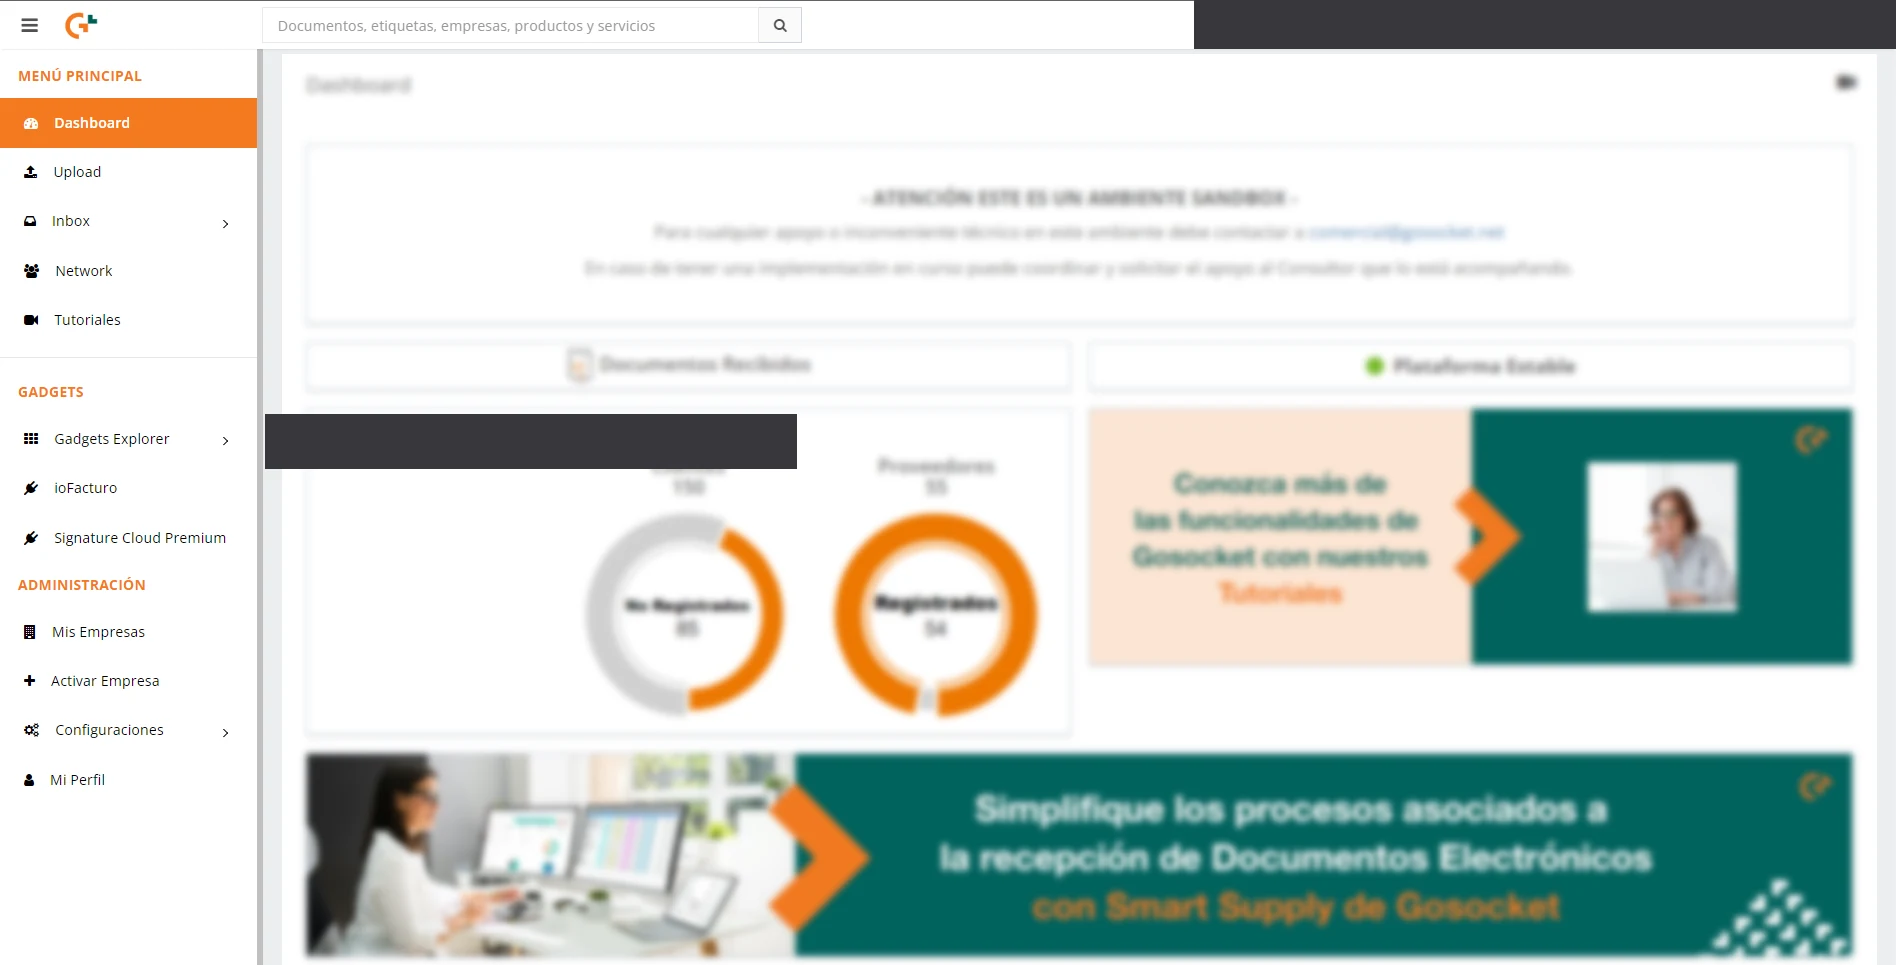
To start the invoicing process, enter the ioFacturo gadget from the side menu.
Company Registration
When you enter ioFacturo, the company's identification, location, and contact data are displayed, previously configured according to the data Gosocket has.
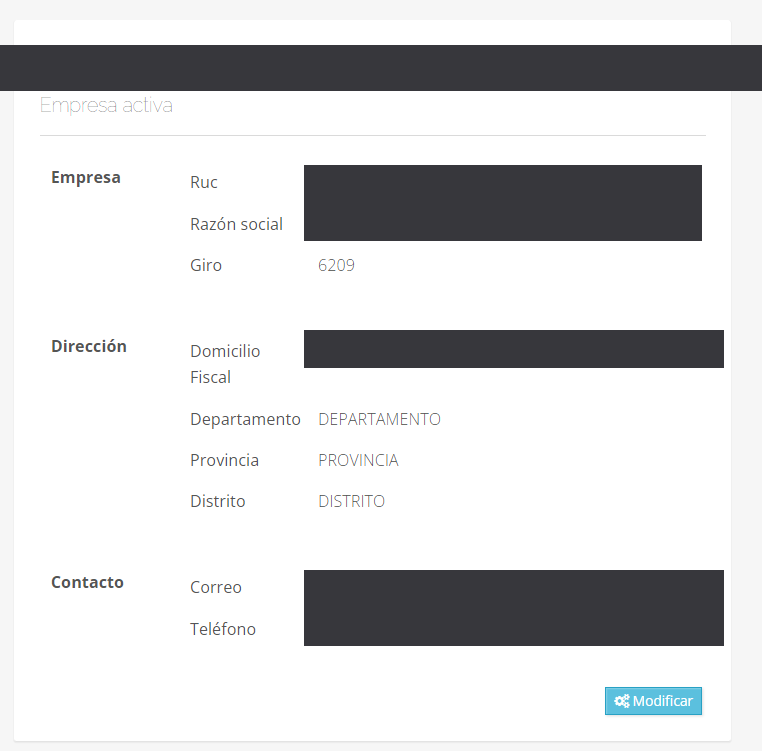
- To edit the company data, click Modify. This action opens a form where you can edit:
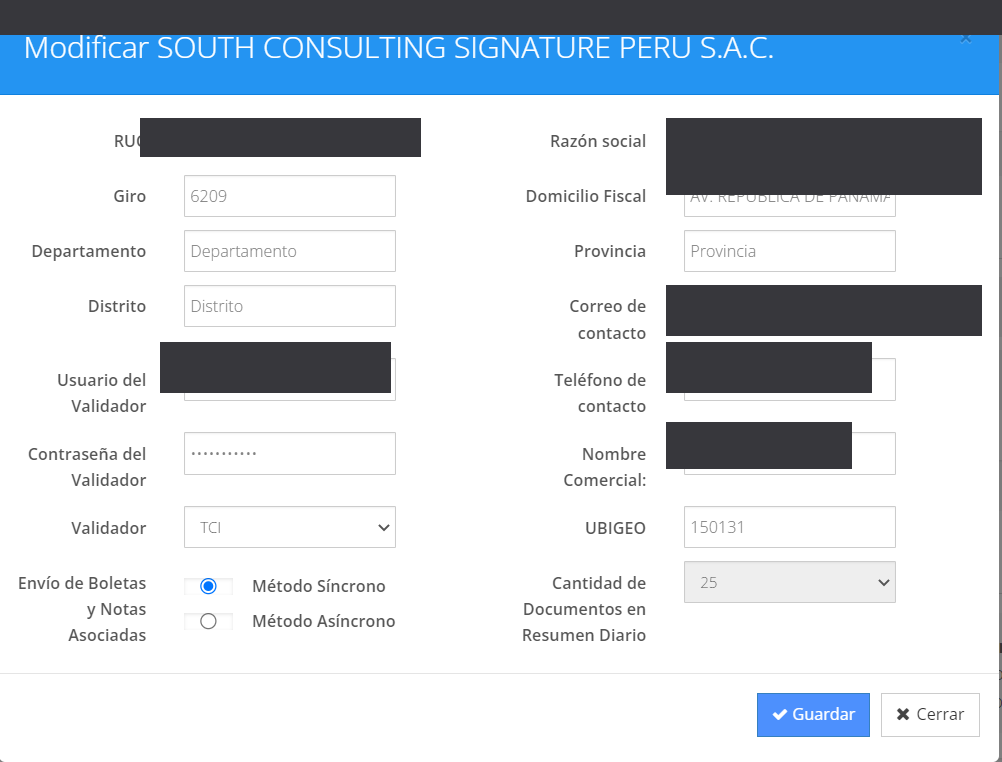
- RUC: verify the company's Single Taxpayer Registry. Within this same section you can modify the legal name and the line of business.
- Tax Address, Department, Province, and District: the company's address.
- Validator Username and Validator Password: identification of the validator the company works with.
- Contact: the company's contact email and phone number.
- Sending of Receipts and Associated Notes: choose whether it will be done synchronously (in real time) or asynchronously (manually).
- UbiGeo and the number of documents to display in the daily summary.
- To keep the information, click Save. To discard the changes, click Close.
Before issuing your first document, register your catalogs in Administration: secondary establishments, customers, series, and products.