The Spanish version is the authoritative reference. View in Spanish
Installation
This guide describes how to install xDoc Global on your company's infrastructure: prerequisites, running the installer on Windows, and the first steps after installation.
✅ Before you start
- A valid, unique company ID. Gosocket provides it before the installation (see The company ID below) — you need it before running the installer.
- Access to the Windows registry and administrator privileges on the target machine assigned to xDoc for installation and execution.
- At least 50 GB of free space on the installation drive.
- An active internet connection throughout the installation process.
- If you use a proxy server to access the internet, have the proxy configuration details on hand.
- IIS enabled in Windows, only if you are going to install the xDoc Web Service.
The installation ID will be provided by the Gosocket team.
The installer's requirements check does not replace hardware and software sizing to estimate resources and document processing performance.
⚙️ How it works
🆔 Why you need a company ID
Onboarding enables xDoc Global for your company using a unique company ID. This ensures your installation is registered, facilitates support and traceability, and prevents duplicate or unauthorized installations.
The company ID
Gosocket manages your company ID in the Administration Portal before you start the installation and sends it to you by email along with the rest of the registered information. You will need it in step 2 of the installer.
The company ID is unique and non-transferable: it must not be shared or reused across different companies, or companies without a commercial relationship.
🛠️ Step-by-step installation process
The installer guides the configuration through four stages. Follow the order — each stage depends on the previous one being completed correctly.
| Stage | What you do |
|---|---|
| 1. Prepare the installer | Run the installer as administrator, choose the language and destination folder, and verify that your machine meets the requirements. |
| 2. Verify your identity | Enter your company ID and the verification code sent to your email. |
| 3. Configure the installation | Choose the installation name, country/countries, optional connectors, and the web service if needed. |
| 4. Confirm and install | Review the summary and confirm to start the installation. |
📦 Get the installer
The installer will be shared by the Gosocket team during the implementation. Do not use installers from external sources or locally saved versions.
1. Prepare the installer
-
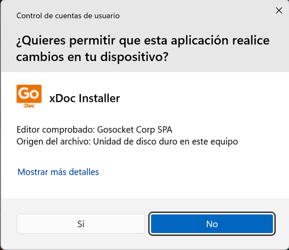
Run as administrator. Right-click the installer → Run as administrator. This is mandatory: the installer writes to the Windows registry, creates system directories, registers services and, if applicable, creates the Web Service in IIS of xDoc. If Windows asks, allow changes to the device and select Yes.
-
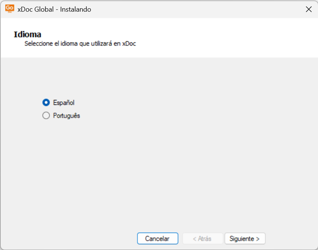
Language. Choose Spanish or Portuguese; this affects the installer's text.
-
Destination folder. Recommended path:
C:\Gosocket\xDoc. Prefer the root of the drive (C:\) overProgram Files, which has stricter security restrictions and may interfere with xDoc's operation.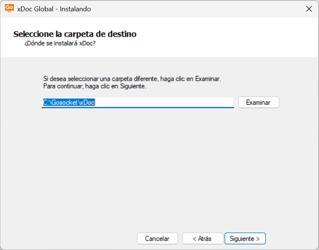
-
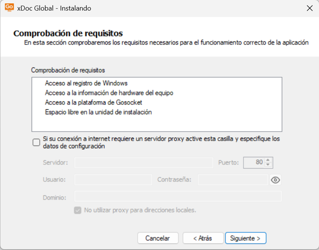
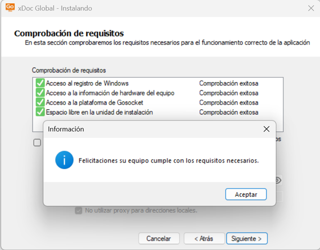
Requirements check. The installer validates the environment automatically; each item is marked ✅ or ❌. If any item does not meet the requirements, resolve it before continuing. If you use a proxy to access the internet, enable the corresponding checkbox and enter the proxy configuration details.
2. Verify your identity
-
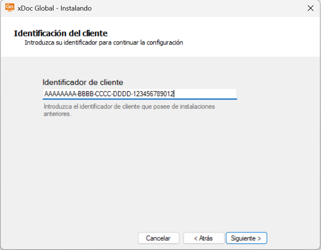
Company ID. Enter the company ID that Gosocket provided. The installer validates it in real time:
- Valid ID: a verification code is automatically sent to the contact email where Gosocket registered your company.
- Invalid or empty ID: the installer does not allow you to continue.
If you already had xDoc Global installations prior to this Onboarding process, use the same company ID from your first installation.
-
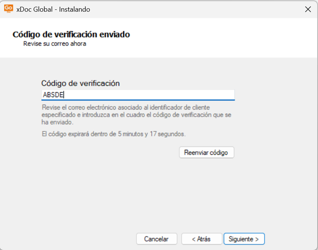
Verification code. Check the email where Gosocket registered your company and enter the code received. The code expires; if it does, request a new one from the installer.
3. Configure the installation
-
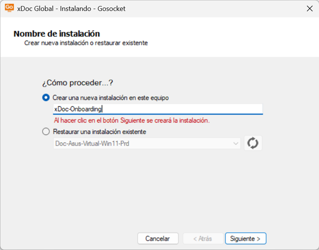
Installation name. Choose one of the two options:
- Create a new installation on this machine — generates a unique installation ID and counts against the total installations enabled for the client.
- Restore an existing installation — recovers the basic configuration of a previous installation (area, company data, country, connectors) for this company ID; replaces the previous installation ID and does not count as an additional installation. Useful when reinstalling on a machine that already had a registered installation.
-
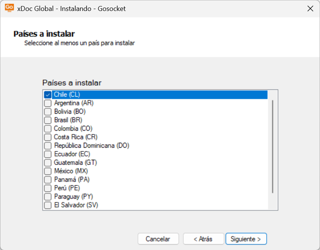
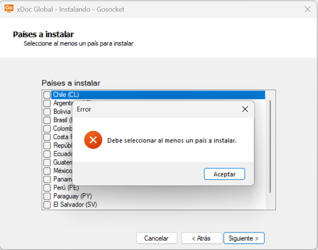
Countries to install. Select at least one country to enable xDoc Global; without a selection the installer will not continue. Countries can be added later.
-
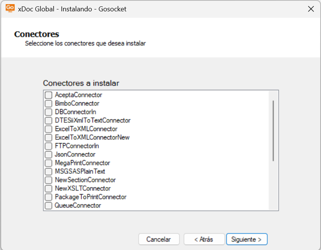
Connectors. Optional; they can also be installed later.
-
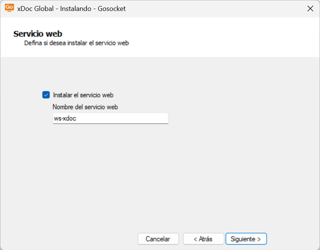
Web service (IIS). If you need to expose xDoc Global as a web service for your ERP, enable this option — requires IIS to be enabled and configured. If you maintain an existing integration, keep the default service name.
4. Confirm and install
-
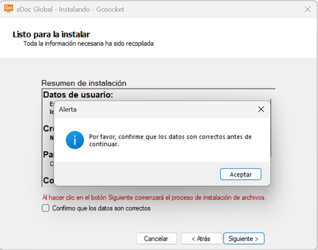
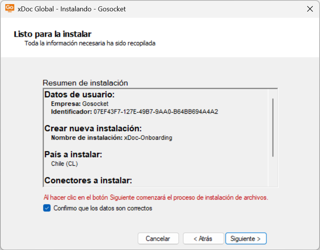
Ready to install. Review the summary, check I confirm the data is correct and click Continue.
-
Installation. The installer downloads the components of the latest stable production version online and applies the chosen configuration. It requires an active internet connection and cannot be cancelled once started; in case of download failure it retries automatically.
-
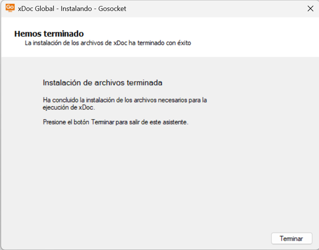
Completion. The installer confirms success or describes the specific error — in that case, document the message and contact your Gosocket Consultant or the technical support team.
🟢 Post-installation and first launch
When finished, two shortcuts are created:
- xDoc Global — main access to the application.
- xDoc Global version backups — an independent tool to recover a previously backed-up version.
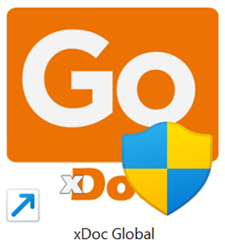

To launch for the first time: double-click xDoc Global, accept the Windows UAC prompt if it appears, and the xDoc Global Administration Console will open. If the shortcut is not on the desktop, look for it in the installation folder (e.g. C:\Gosocket\xDoc).
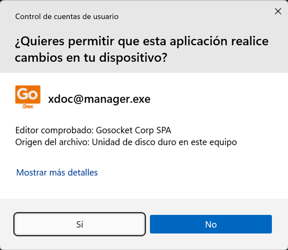
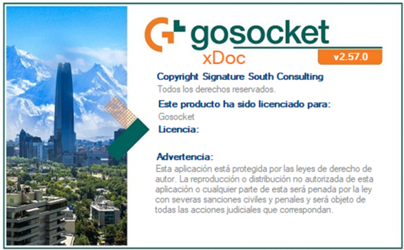

In some cases the xdoc@manager.exe executable requires running as administrator; you can do this manually or configure it as the default behavior in its properties.
🔗 See also
- xDoc Global — what the product is and what it solves.
- Common errors and FAQ — common installation issues and frequently asked questions.